How To Make the Perfect Coffee While Camping
How To Make the Perfect Coffee While Camping
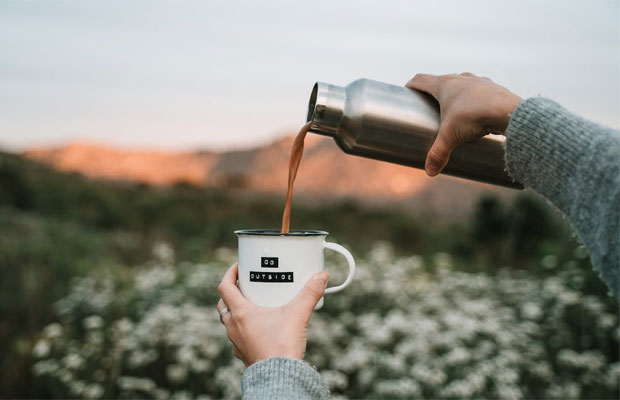
Don’t think you can only have instant coffee while camping. If you’ve taken the jump to speciality coffee beans, then you probably don’t want to go back to instant. So, why should you when you’re camping?
In this article, you will find the most compact options when needing a coffee while camping without compromising on quality or taste. .
Of course, the more people there are camping, the more difficult it becomes to keep things compact. However, if you’re making a coffee just for yourself or a couple of people, then things should be easy.
How much coffee to take camping
It’s always best to buy fresh coffee from a speciality coffee roasters. Most of these companies will tell you how much you need per cup for each of their coffees.
If you want to be scientific about it, you could calculate exactly how many drinks you have per day, then multiply that by the number of days you’re out in the wild. This gives you how many drinks you will want. Add a couple on of course. Then multiply that by how much coffee you need per cup – usually between 17 and 25g.
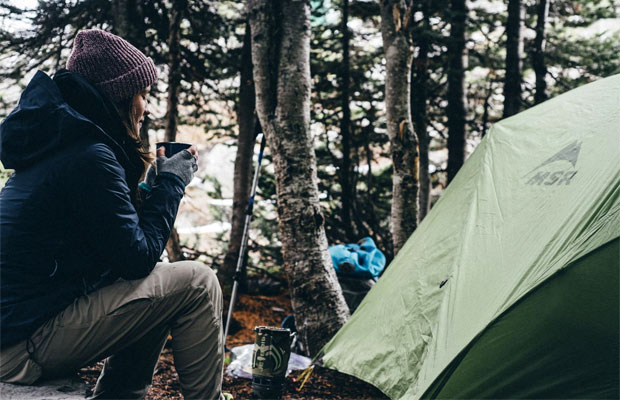
On the other hand, simply take one small bag (227g) for every few days. Take too many as opposed to too few, as you’ll probably use more while out camping than when you’re at home. You’ll most likely want take some flasks of coffee out with you on excursions or simply sit and enjoy sipping tasty cups of coffee whilst admiring the scenery or the campfire.
Next, let’s take a look how to brew it best while away from home.
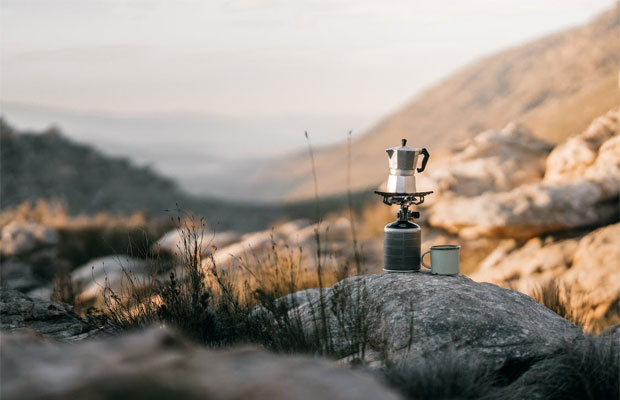
- Using a Percolator/Stove Top while Camping
A stovetop espresso maker can provide a delightful espresso experience in the heart of nature and doesn’t take up much space.
Begin by disassembling the espresso maker into its three components: the base, filter basket, and top chamber. Fill the base with water, ensuring not to exceed the safety valve. Add finely ground coffee to the filter basket, distributing it evenly without compressing.
Assemble the espresso maker and place it on a portable stove, campfire, or any heat source. Allow the water to heat and percolate through the coffee grounds, producing a robust and aromatic espresso.
Keep a watchful eye on the process, adjusting heat levels to control extraction. Once the rich, dark brew fills the upper chamber, remove from heat, and indulge in the satisfaction of a freshly brewed cup of camping espresso, complete with the invigorating aroma of the great outdoors.
The percolator itself can be very compact and easy to travel with. It’s best to get a small one, like a 3-cup size. That said, if you take this then you’ll need to bring a portable stove with you so you can heat it up to make the coffee.
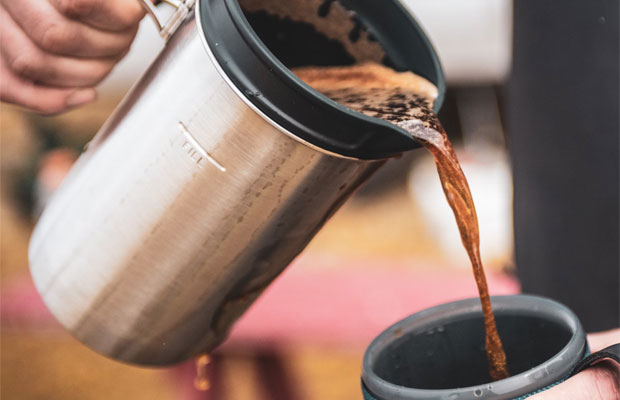
- Using a French Press While Camping
If using a French press, it’s definitely best to take a metal one as opposed to glass as glass is very prone to breaking of course. For camping, you want items that are robust and that can easily be packed.
For an authentic coffee experience amidst the serene landscapes of camping, a cafetière proves to be a portable and straightforward choice.
Begin by coarsely grinding your preferred coffee beans, measuring one heaped tablespoon per 200ml of water.
Boil water on a camp stove or portable cooker, allowing it to cool slightly before pouring it over the coffee grounds in the cafetière. Stir the mixture gently, ensuring all grounds are saturated, and place the lid on with the plunger pulled up.
Allow the coffee to steep for about four minutes, then slowly press the plunger down. This separates the grounds from the liquid, leaving you with a smooth and flavoursome brew.
The cafetière’s simplicity and easy clean-up make it an excellent companion for camping, promising a delightful coffee ritual under the open skies.
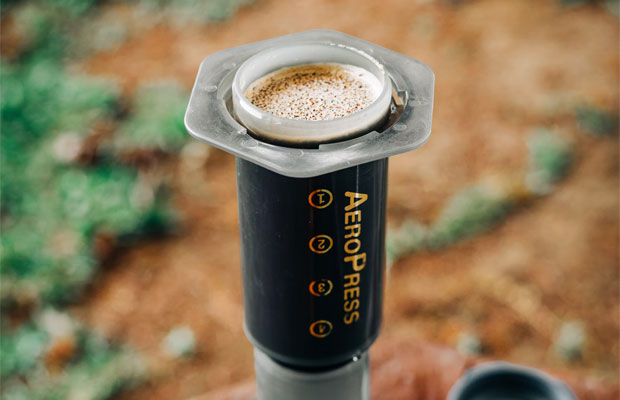
- Using an Aeropress While Camping
While out camping, the Aeropress could prove to be an indispensable companion for coffee enthusiasts seeking a robust brew amidst the wilderness. The likes of which who refuse to drink instant coffee.
Begin by assembling the compact components of the Aeropress: the main chamber, plunger, filter cap, and stirrer.
Boil water using a portable stove or campfire, allowing it to cool slightly to around 175-185°F (79-85°C) for optimal coffee extraction.
Grind your favourite coffee beans to a medium-coarse consistency, adding the grounds to the inverted Aeropress setup. Pour the hot water, initiating a slow stir to ensure even saturation, and attach the filter cap. After a brief steep, affix the plunger and steadily press, creating a smooth and concentrated coffee. The Aeropress not only delivers a rich and full-bodied cup, but its lightweight and durable design make it an ideal choice for camping, promising a flavourful caffeine fix amidst the great outdoors.
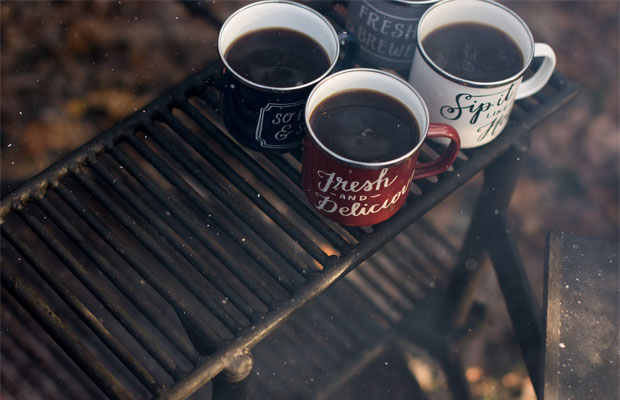
You may experience some challenges while brewing out camping
While brewing a cafetière during camping can yield a delightful cup of coffee, several challenges may arise, demanding resourcefulness and adaptability.
One common issue is water temperature control, as camp stoves or open flames can provide inconsistent heat. To address this, let boiled water cool for a few moments before pouring it over coffee grounds, ensuring it’s within the optimal temperature range.
Grounds disposal poses another challenge, with environmental considerations in mind. Carrying a small sieve or strainer can aid in separating used grounds from the liquid, facilitating responsible disposal.
Additionally, the outdoors may lack the stability of a kitchen countertop, making it challenging to keep the brewing equipment steady during the brewing process. Overcoming this involves finding a flat, stable surface, or improvising with a flat, portable board to create a makeshift brewing station.
Lastly, the need for precision in measurements may be compromised while camping. Using pre-measured coffee packets or bringing a portable scale can help maintain the desired coffee-to-water ratio, ensuring a consistently satisfying brew despite the challenges presented by the great outdoors.
Guest Article.

